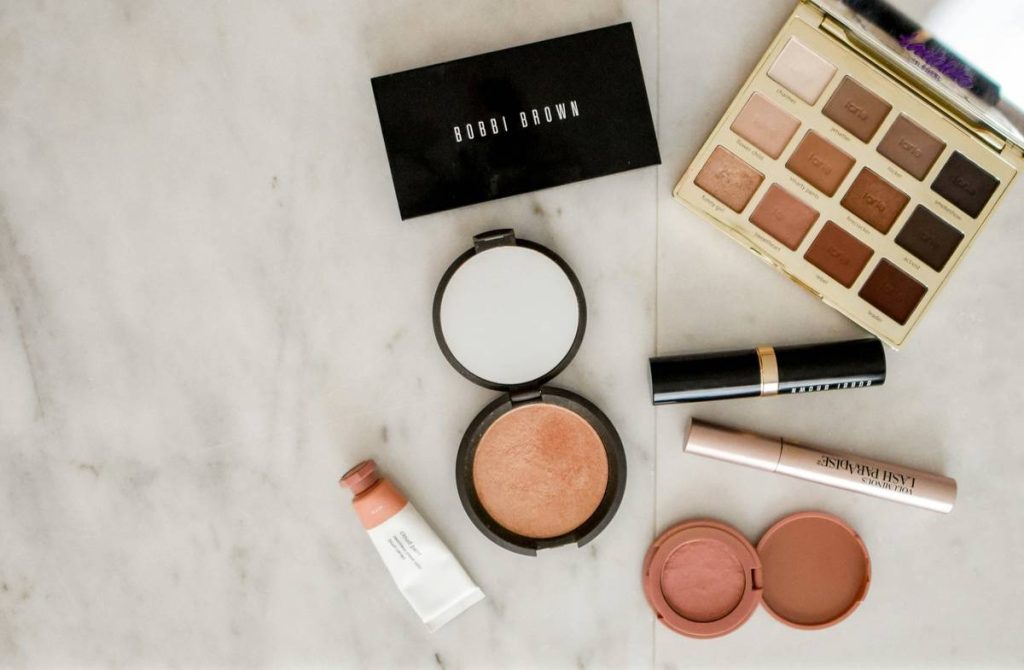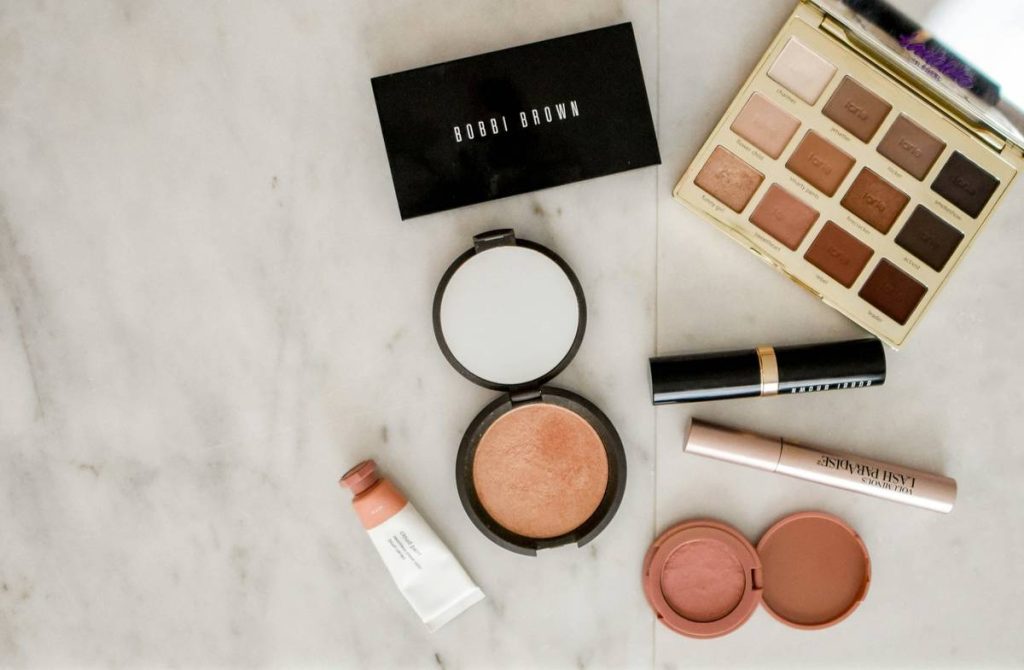
You bought a “glow-enhancing palette” last month. Swatched it under the bathroom lights. Felt that rush of anticipation. Then—nothing. Just flat, greasy skin under office fluorescents. You’re not alone. Most complexion products promise radiance but deliver shimmer sludge. The problem? They’re designed for cameras—not real life. Here’s how to actually get that lit-from-within look without looking like you dipped your face in cooking oil.
Why Your Glow-Enhancing Palette Fails in Daylight
Because it’s built on vanity lighting and Instagram filters. Period.
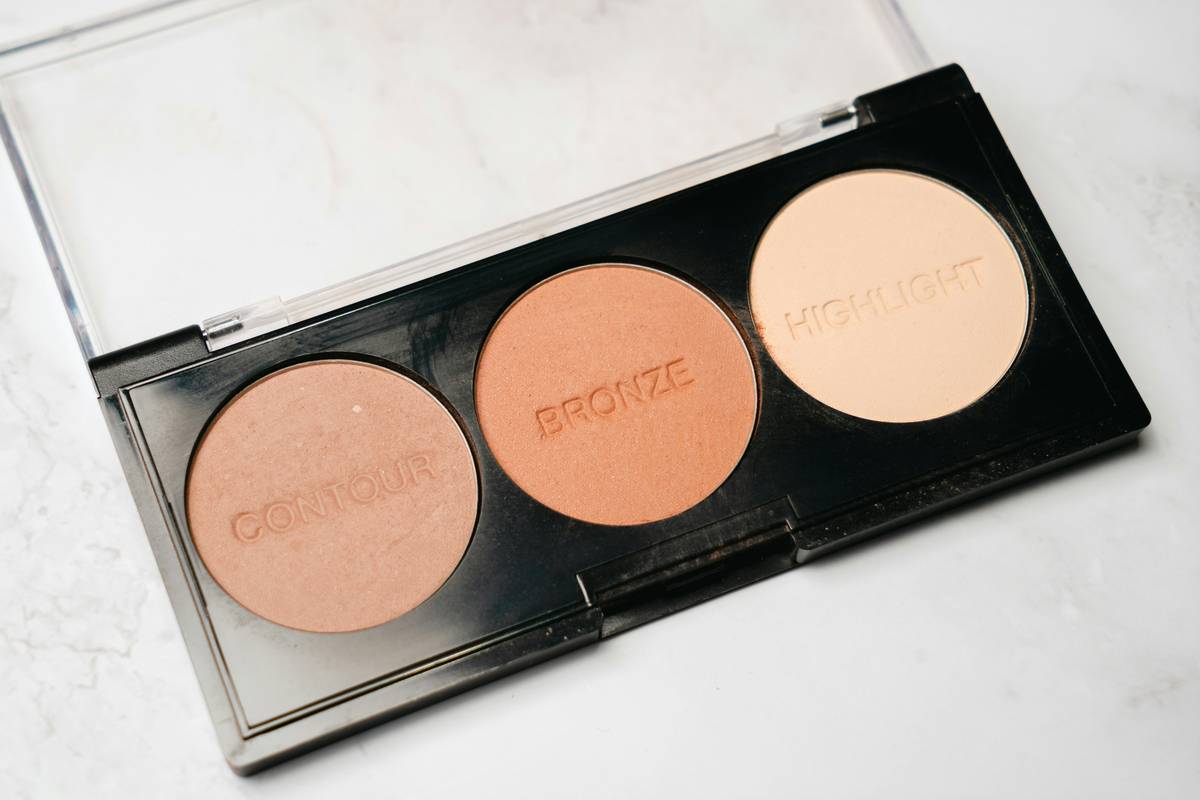
Most palettes stack mica-heavy highlighters next to chalky mattes, assuming one size fits all skin tones and lighting conditions. But sunlight doesn’t flatter poorly dispersed pigments. And indoor lighting? It magnifies texture if your formula isn’t seamless. Worse—many “glow” palettes skip binding agents that fuse with sebum, so they oxidize within hours. You start dewy, end up dull. The math is simple: wrong formulation + wrong application = wasted money.
How to Actually Use a Glow-Enhancing Palette Like a Pro
It’s not about how much product you apply—it’s where, when, and with what.
Prep Is Non-Negotiable (Skip This, Fail Instantly)
Dry patches eat glow for breakfast. Hydrate first. A lightweight hyaluronic serum followed by a satin-finish moisturizer creates the ideal base. Wait 5 minutes. Not 30 seconds. Let it sink.
Map Your Face Like a Lighting Designer
Forget cheekbones. Target micro-zones: inner corners, brow bone arch, cupid’s bow, and the very tip of your chin. These reflect light naturally. Apply with a damp sponge—not a dry brush—for melt-in fusion.
Blend With Skin, Not Over It
Your palette should disappear into your complexion, not sit on top. Use circular motions with minimal pressure. Too much tapping = glitter trap.
| Application Method | Result Under Natural Light | Longevity (Hours) |
|---|---|---|
| Dry brush, heavy hand | Streaky, emphasizes pores | 2–3 |
| Fingertip, minimal product | Uneven, patchy sheen | 4 |
| Damp sponge, targeted zones | Natural, diffused glow | 6–8 |
The Industry Secret No Brand Will Admit
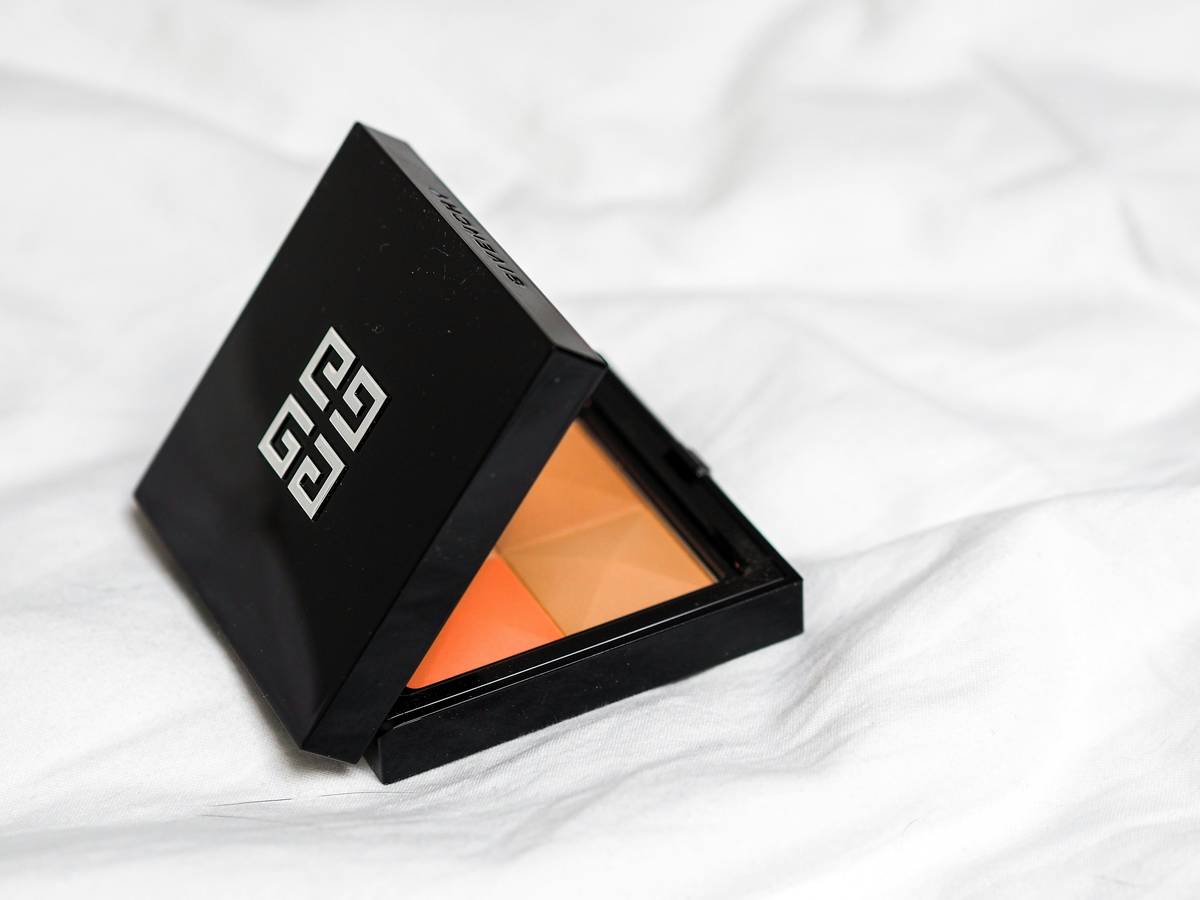
Here’s the reality: most “glow-enhancing palettes” are just repackaged holiday sets with leftover stock. But the ones that actually work? They contain silica-coated pigments and a touch of dimethicone—not for “smoothness,” but to control refractive index. In plain terms: they manipulate how light bounces off your skin. Some labs even add sub-micron boron nitride particles to diffuse shadows without adding shine. You won’t see this on the label. Why? Because “silica-coated pigment tech” doesn’t sell like “magic radiance.” Look for ingredient lists ending in -cone or -siloxane near the top. That’s your lit-from-within cheat code.
Frequently Asked Questions
Can oily skin use a glow-enhancing palette?
Yes—if you prep with a mattifying primer on T-zone only, then apply glow only on high points. Avoid cheeks if prone to midday shine.
Are cream or powder glow palettes better?
Creams blend seamlessly but fade faster. Powders last longer but can cling to texture. For combo skin, use cream above cheekbones, powder below.
How often should I reapply my glow-enhancing palette?
Once, max—around hour 5. Reapplying over oil just creates glitter clumps. Blot first, then press a tiny amount with fingertip.