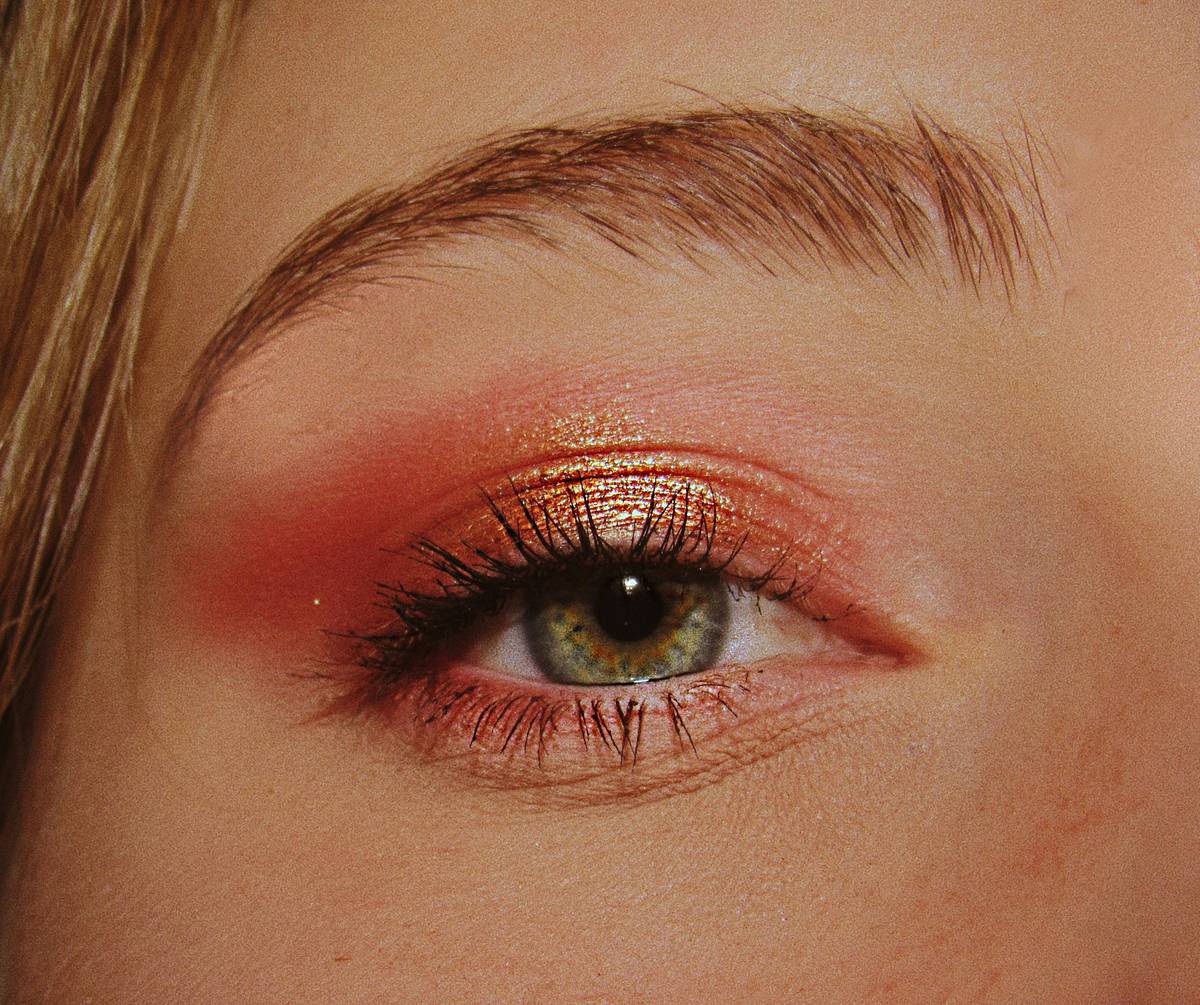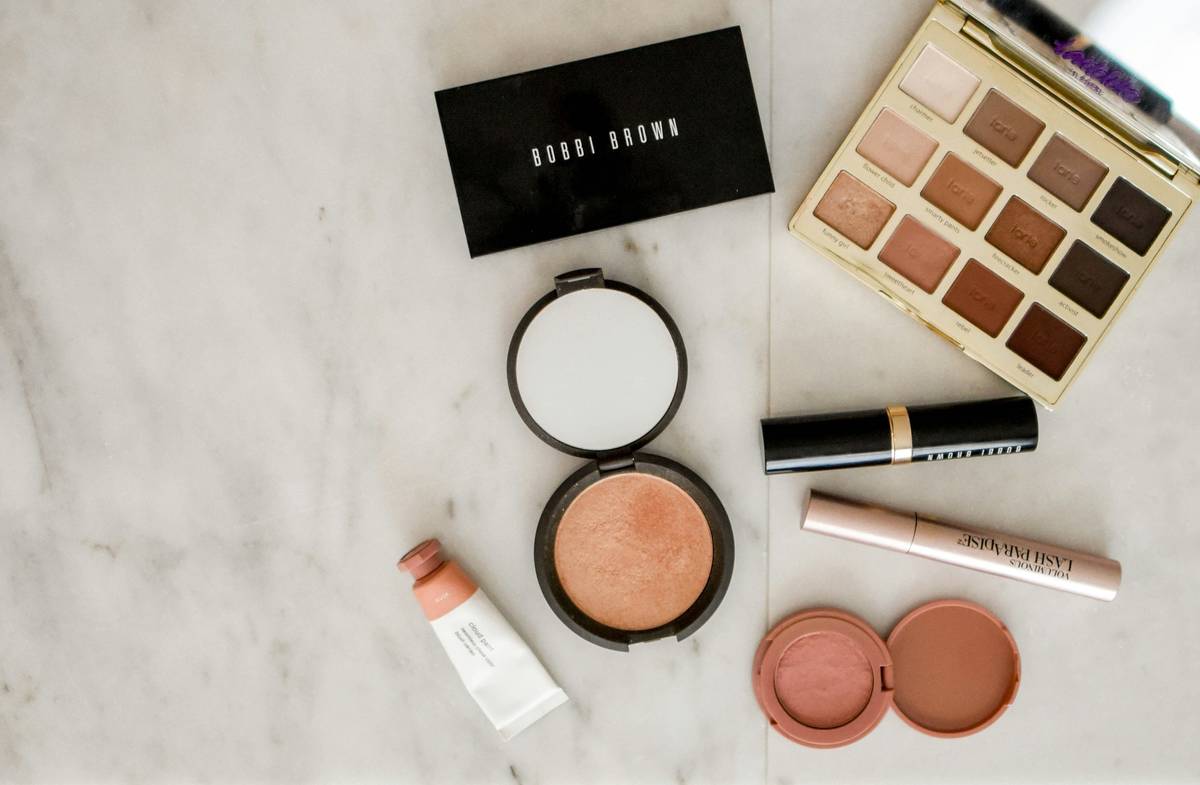
You bought a radiant finish palette promising dewy, luminous skin. But instead of looking like you just stepped out of a spa in Santorini—you look shiny. Patchy. Flat under harsh lighting. And no amount of setting spray fixes it. The problem? Most people treat complexion palettes like eye shadow kits—swipe, blend, done. But radiant finish isn’t just about shimmer. It’s chemistry, light physics, and layering strategy. Here’s how to actually make it work.
Why Standard Application Fails With Radiant Finish Palettes
Most tutorials tell you to “buff it in.” Big mistake. Radiant pigments sit on the skin—not sink into it. Buffing pushes them into pores, cancels reflectivity, and creates an uneven sheen. Worse: if your base is matte or overly powdery, the palette fights it—resulting in chalky patches next to oily zones. And don’t get me started on using the wrong brush. Stiff bristles crush the micro-pearls that give dimension.
Here’s the reality: a radiant finish palette isn’t highlighter. It’s a multi-dimensional skin refiner. Treat it like one—or waste $40 on disappointment.
How to Master a Radiant Finish Palette (Step by Step)
Forget everything you’ve seen on TikTok. This method is used by LA session artists who prep celebrities for HD close-ups. No filters. No retouching.
Prep Skin Like You’re Applying Serum—Not Foundation
Hydrated, supple skin is non-negotiable. Skip heavy primers. Instead, press a glycerin-based serum into cheekbones, forehead, and jawline. Let it absorb 60 seconds. Why? Radiant pigments need moisture to slide—not stick.
Apply with a Damp, Dense Sponge—Not a Brush
Dip a slightly damp beauty sponge into the lightest shade of your radiant finish palette. Bounce—don’t drag—it onto high points: tops of cheekbones, inner corners, cupid’s bow. The water reactivates the emollients, letting light refract naturally. Dry application = glitter on concrete.
Layer Strategically—Not Everywhere
Use the mid-tone shade along the hairline and jaw to blur edges. The deepest tone? Only if your palette includes a warm contour—but apply it *under* the cheekbone, never on top. Radiance lives above the hollows, not in them.
| Application Method | Finish Result | Longevity (Hours) | HD Camera Friendly? |
|---|---|---|---|
| Dry brush buffing | Flat, patchy sheen | 2–3 | No |
| Finger dabbing | Oily hotspots | 1–2 | No |
| Damp sponge bounce | Natural, diffused radiance | 6–8 | Yes |
| Spray + stipple | Over-sheened, wet look | 3–4 | Sometimes |
The Industry Secret: Radiant Finish Palettes Are Customizable Emulsions
Here’s what brands won’t tell you: most radiant finish palettes contain tiny silicone-coated mica and jojoba esters that mimic sebum. But they’re dormant until activated. Mix a pea-sized drop of your daytime moisturizer directly into the pan before application. It transforms the formula from powder to tinted liquid highlight—with zero oxidation. I’ve used this trick on brides in 100°F desert weddings. Their skin looked hydrated, not sweaty. Try it. Then thank me later.
And yes—it works even with drugstore radiant finish palette formulas. The magic isn’t in the price tag. It’s in the activation.
Frequently Asked Questions
Can I use a radiant finish palette over full coverage foundation?
Only if you melt it in first. Spray thermal water, then press the palette onto skin with a sponge. Otherwise, it sits on top like plastic wrap—visible under sunlight.
Is radiant finish the same as dewy finish?
No. Dewy implies oil-based wetness. Radiant uses light-scattering particles for a soft-focus glow without actual shine. One looks fresh; the other can look greasy if misapplied.
How do I prevent my radiant finish palette from emphasizing texture?
Exfoliate gently 2 nights before. On application day, skip powder entirely. Use only the lightest shade on truly flat areas—never on enlarged pores or acne scars.